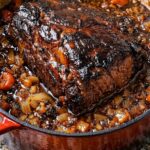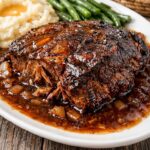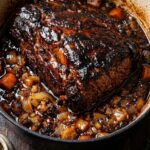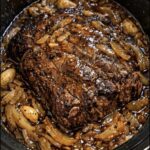

Slow Cooker Garlic Onion Pot Roast
Prep Time: 15 minutes
Cook Time: 8–9 hours on LOW or 4–5 hours on HIGH, adding time if needed for tenderness
Rest Time: 10 minutes
Servings: 6–8
Ingredients
3–4 lb beef chuck roast
1 large onion, chopped
5 garlic cloves, minced
2 cups beef broth
2 tablespoons Worcestershire sauce
2 tablespoons balsamic vinegar
1 tablespoon tomato paste
1 tablespoon brown sugar
1 teaspoon salt
1 teaspoon black pepper
1 teaspoon smoked paprika
1 teaspoon dried thyme
1 teaspoon onion powder
1 tablespoon olive oil
2 tablespoons cornstarch mixed with 2 tablespoons water, optional for thickening
Instructions
Step 1: Prepare and season the roast.
Remove the chuck roast from its packaging and pat every surface dry with paper towels. Removing excess surface moisture helps the beef brown properly when it touches the hot skillet.
In a small bowl, combine the salt, black pepper, smoked paprika, dried thyme, and onion powder. Sprinkle the seasoning evenly over the roast, including its sides, and gently press it onto the meat. Use the measured seasoning rather than adding extra salt at this stage, especially if your broth is already salted.
Step 2: Sear the beef.
Heat the olive oil in a large, heavy skillet over medium-high heat. Once the oil is hot, carefully place the seasoned roast in the pan.
Sear for approximately 3–4 minutes on each broad side, leaving the meat undisturbed long enough to develop a deep brown crust. Briefly brown the edges where practical, using sturdy tongs to hold the roast.
The beef will remain uncooked inside. This step develops flavor on the outside before the slow cooker finishes cooking it.
Step 3: Prepare the onion and garlic base.
Spread the chopped onion across the bottom of a 6-quart slow cooker. Scatter the minced garlic over the onion.
These ingredients soften as the roast cooks, adding sweetness and savory flavor to the cooking liquid. Keeping them beneath the beef also allows them to mingle with the juices released during cooking.
Step 4: Add the roast.
Transfer the seared beef to the slow cooker and place it directly over the onion and garlic.
Position the roast so the lid can close completely. A snug fit is fine, but the meat should not prevent the lid from sitting securely. Handle the roast carefully because the skillet and any oil remaining on the meat will be hot.
Step 5: Mix and add the cooking liquid.
Whisk together the beef broth, Worcestershire sauce, balsamic vinegar, tomato paste, and brown sugar until the tomato paste is well incorporated.
Pour the mixture around and over the roast. The liquid does not need to cover the beef completely; the covered slow cooker traps moisture, and the roast releases additional juices as it cooks.
For extra flavor, use a little of the measured broth to loosen the browned bits in the skillet, then add that liquid to the remaining sauce mixture.
Step 6: Cook until fork-tender.
Cover and cook on LOW for 8–9 hours or HIGH for 4–5 hours. LOW is the preferred setting when you have enough time.
Start checking near the end of the cooking window. Push a fork into the thickest section and gently twist. The meat should separate easily with very little resistance.
Cooking time varies with the roast’s thickness and your appliance. If the beef is still firm, cover and continue cooking, checking again after another 30–60 minutes. Tenderness is the best guide for pot roast.
Step 7: Rest the beef.
Carefully lift the cooked roast onto a serving platter using two sturdy utensils. Very tender chuck roast may begin separating as you move it.
Let it rest for approximately 10 minutes while you prepare the gravy. Spoon a little cooking liquid over the top to keep the surface moist.
After resting, pull the beef into generous chunks or slice it across the grain if it holds together.
Step 8: Prepare the onion-garlic gravy.
Pour the cooking liquid and softened onions into a saucepan. Skim off excess surface fat if desired.
For thicker gravy, stir the cornstarch and cold water together until smooth. Bring the cooking liquid to a gentle simmer, then gradually whisk in the slurry.
Simmer for 2–3 minutes, stirring frequently, until slightly thickened. Add the slurry gradually so you can stop when the gravy reaches your preferred consistency. For a thinner sauce, omit it.
Step 9: Finish and serve.
Taste the gravy before adding any extra seasoning. Spoon it generously over the rested beef, allowing the softened onion and garlic to settle between the pieces.
Serve warm with your favorite sides. Keep additional gravy in a small jug or bowl so everyone can add more at the table.
Tips
Choose chuck roast. Its marbling and connective tissue make it particularly suitable for long, slow cooking. Leaner cuts can become dry before they develop the same tender texture.
Give the searing step enough time. A properly heated skillet and dry meat create better browning. Avoid moving the roast repeatedly while the crust forms.
Keep the lid closed. Frequent opening releases heat and can extend cooking time. Leave the roast undisturbed until you are ready to check its tenderness.
Adjust the gravy at the end. Broth and Worcestershire sauce both contribute salt. Taste the finished cooking liquid before adding more.
Do not confuse firmness with overcooking too early. A chuck roast that is still tough often needs more cooking time for its connective tissue to soften.
Storage
Let leftovers cool briefly, then refrigerate promptly in airtight containers. Store the beef with enough gravy to keep it moist. Refrigerated leftovers keep for 3–4 days.
For freezing, divide the beef and gravy into meal-sized portions and place them in freezer-safe containers. Freeze for up to 3 months for the best quality. Thaw overnight in the refrigerator before reheating.
Reheat gently in a covered saucepan over low heat, adding a small splash of water or broth if the gravy has thickened considerably. Stir or turn the beef occasionally until heated thoroughly.
Serving Ideas
Creamy mashed potatoes are a classic pairing because they soak up the onion-garlic gravy. Buttered egg noodles, fluffy rice, or warm crusty bread also work well.
For vegetables, serve roasted carrots, steamed broccoli, buttered green beans, or a crisp green salad alongside the roast.
Leftover beef makes delicious sandwiches. Warm it in a little gravy, pile it onto a toasted roll, and serve with pickles or coleslaw. It can also be spooned over baked potatoes for an easy second meal.
Nutrition Benefits
Beef supplies protein, iron, zinc, and vitamin B12. Protein supports the maintenance of body tissues, while iron and vitamin B12 contribute to normal red blood cell function.
Onion and garlic add flavor and small amounts of plant nutrients. Pairing the roast with vegetables and a fiber-rich side creates a more varied meal.
The fat, calorie, and sodium content depends on the roast’s marbling, broth brand, portion size, and amount of gravy served. Trimming large pieces of exterior fat and using lower-sodium broth can help adjust the finished dish.
Q&A
Can I skip searing?
Yes. The roast will still cook, although the finished flavor and exterior will be less deeply browned.
Can I add vegetables?
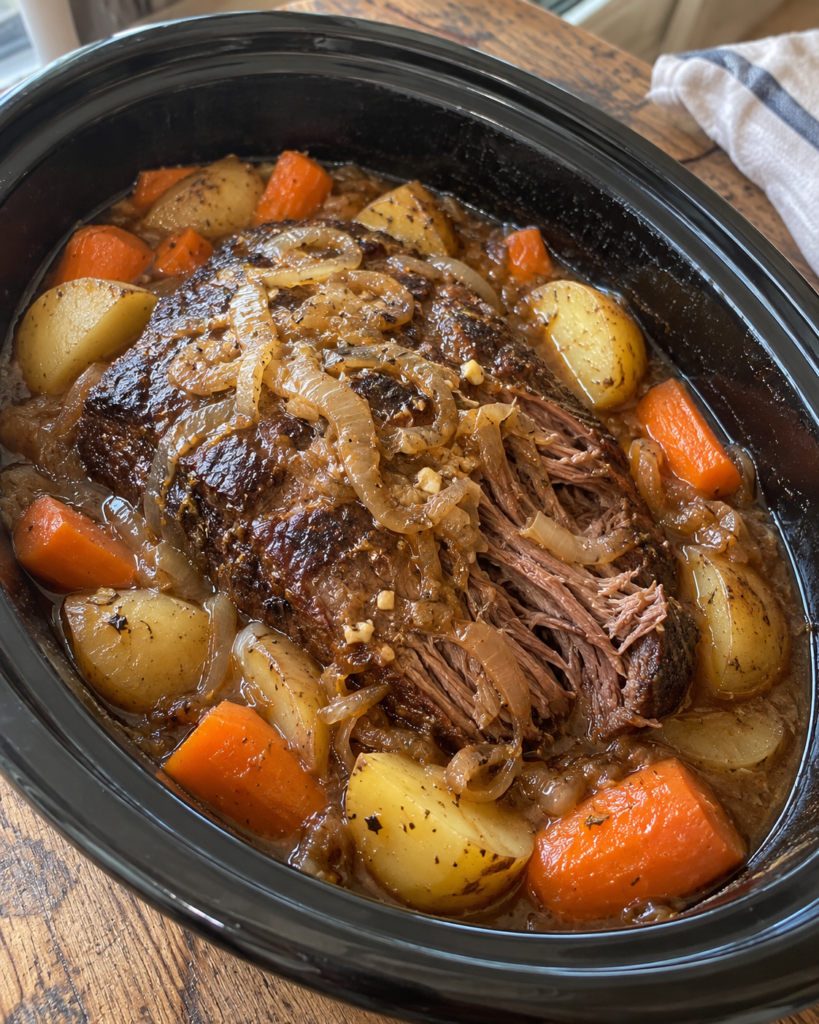
Yes. Add sturdy potato and carrot chunks beneath or around the roast. They are optional additions and are not included in the ingredient list above.
Why is my roast still tough?
It likely needs more time. Keep cooking until a fork slides in easily and the meat separates with little effort.
Can I make it ahead?
Yes. Refrigerate the cooked beef with its gravy, then reheat gently before serving.
Will the balsamic vinegar make it sour?
At this quantity, it adds balanced acidity that blends with the broth, tomato paste, onions, and brown sugar.