
Sticky BBQ Beef Ribs
🥩🍖
Prep Time: 15 minutes + 1 hour marinating
Cook Time: 4–5 hours
Servings: 6–8
Ingredients
For the Ribs
- 4–5 lb beef ribs
- 2 tbsp yellow mustard
- 2 tbsp Worcestershire sauce
- 2 tbsp brown sugar
- 1 tbsp paprika
- 1 tbsp garlic powder
- 1 tbsp onion powder
- 1½ tsp salt
- 1½ tsp black pepper
- ½ cup water or beef broth
For the Sticky BBQ Glaze
- 1 cup BBQ sauce
- ¼ cup honey
- 1 tbsp Worcestershire sauce
- 1 tbsp apple cider vinegar
Instructions
1. Season the Ribs
Start by preparing the beef ribs. Pat the ribs dry using paper towels. Removing excess moisture from the surface helps the seasoning adhere properly and allows the exterior to develop better flavor during cooking.
Place the ribs on a clean work surface and coat them evenly with the yellow mustard and Worcestershire sauce. These ingredients create a flavorful base for the dry seasoning while also helping the spices stick to the meat.
Next, combine the brown sugar, paprika, garlic powder, onion powder, salt, and black pepper. Rub this mixture evenly over all sides of the ribs, making sure the seasoning is distributed as consistently as possible.
The brown sugar adds a subtle sweetness that works especially well with the smoky paprika and savory garlic and onion powders. Worcestershire sauce adds depth, while mustard provides a gentle tang that balances the richer flavors.
Once the ribs are completely coated, place them in the refrigerator and refrigerate for at least 1 hour.
This marinating period gives the seasonings time to settle into the surface of the meat and allows the flavors to come together before the slow cooking begins.
2. Slow Cook
After the ribs have marinated, preheat the oven to 275°F (135°C).
Place the seasoned ribs bone-side down in a roasting pan. Pour ½ cup water or beef broth into the pan.
The liquid helps create a moist cooking environment while the ribs slowly cook. It also contributes flavorful juices to the bottom of the pan.
Cover the roasting pan tightly with aluminum foil. A tight seal is important because it helps retain moisture and heat during the long cooking process.
Place the covered pan in the preheated oven and bake for 3½–4½ hours, until the beef ribs are very tender.
The slow cooking process allows the meat to gradually soften and become deeply flavorful. Avoid repeatedly opening the foil during cooking, as this can release heat and moisture.
The ribs are ready for the glazing stage when they have become very tender and the meat is cooked through.
3. Make the Glaze
While the ribs are cooking, prepare the sticky BBQ glaze.
Add 1 cup BBQ sauce, ¼ cup honey, 1 tbsp Worcestershire sauce, and 1 tbsp apple cider vinegar to a saucepan.
Warm the mixture over low heat for about 5 minutes, stirring occasionally so that all the ingredients combine evenly.
The BBQ sauce provides the main savory and smoky flavor, while honey adds sweetness and helps create the sticky texture during caramelization. Worcestershire sauce gives the glaze additional savory depth, and apple cider vinegar adds acidity that keeps the glaze from becoming overly sweet.
Once the glaze is warmed and well combined, remove it from the heat and set it aside until the ribs are ready.
4. Glaze the Ribs
After the ribs have finished slow cooking, carefully remove the roasting pan from the oven.
Remove the foil carefully because hot steam may escape when the pan is uncovered.
Increase the oven temperature as directed in the next step, then brush the ribs generously with the prepared BBQ glaze.
Make sure the glaze covers the surface of the ribs evenly. You want a generous coating, but the glaze should still be applied in a way that allows it to caramelize properly.
For the best result, use a brush to spread the sauce across the ribs, making sure the edges and exposed areas are coated as well.
5. Caramelize
Increase the oven temperature to 425°F (220°C).
Place the ribs back into the oven uncovered and cook for 10 minutes.
This higher temperature begins to caramelize the glaze and gives the ribs their glossy, sticky exterior.
After the first 10 minutes, remove the ribs and brush them with more glaze. Return them to the oven and cook for another 5–8 minutes.
Applying the glaze in layers allows each coating to set and caramelize before another layer is added. This creates a more flavorful and sticky exterior instead of leaving the sauce as one heavy layer on the surface.
6. Char
For the final finish, turn on the broiler.
Broil the ribs for 1–2 minutes, watching them closely the entire time.
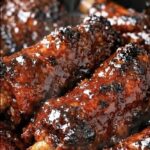
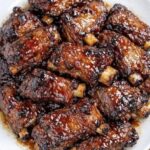
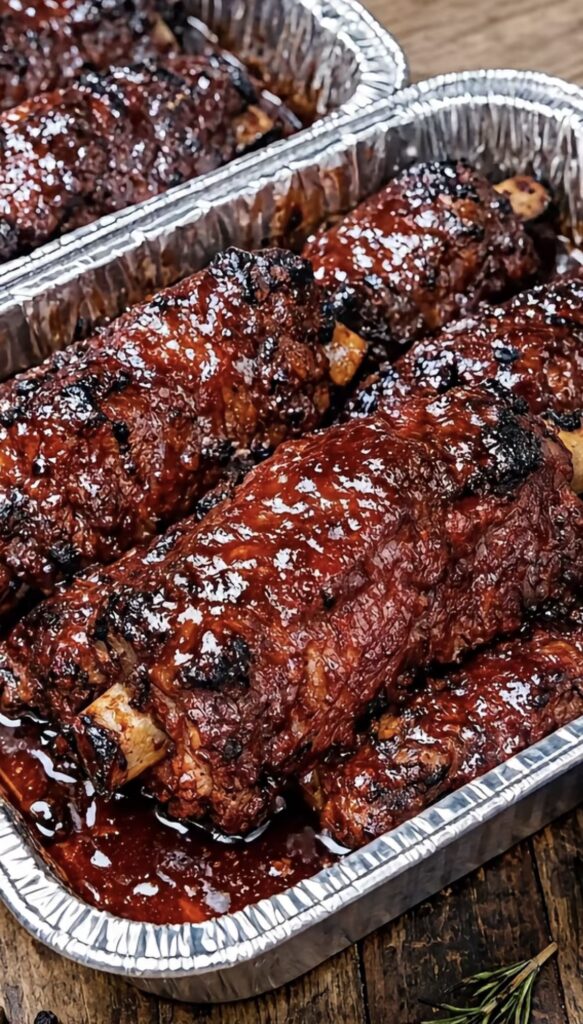
This quick final step creates the dark, sticky, caramelized surface that makes these BBQ beef ribs especially appealing. The sugars in the glaze will quickly brown under the broiler, giving the ribs a beautiful glossy finish and lightly charred edges.
Be careful during this stage because the glaze contains honey and brown sugar, which can burn quickly under high heat.
Do not walk away from the oven while the ribs are broiling. Remove them as soon as the sauce reaches a dark, sticky, caramelized appearance.
7. Rest and Serve
Once the ribs have finished broiling, remove them from the oven and allow them to rest for 10–15 minutes.
Resting gives the meat a chance to settle before slicing. It also makes the ribs easier to handle and serve.
After resting, slice the ribs into portions and arrange them on a serving platter.
Serve them warm with extra BBQ sauce on the side for dipping or drizzling.
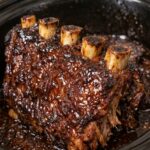
The finished ribs should have a tender interior with a rich, sticky BBQ coating on the outside. The combination of savory beef, smoky seasoning, sweet honey, tangy vinegar, and caramelized BBQ sauce creates a bold flavor that makes these ribs perfect for a hearty meal.
Tip for the Best Sticky Finish
For the best sticky finish, brush on the glaze in thin layers rather than one thick coat.
Thin layers caramelize more evenly and allow the sauce to build into a glossy, sticky coating. Applying several layers during the caramelization stage also helps create more depth of flavor while reducing the chance of the glaze becoming overly thick or burning before the ribs are finished.
Pay especially close attention during the final broiling stage. Because the glaze contains sweet ingredients, it can go from beautifully caramelized to burnt very quickly.
Serving Ideas
Sticky BBQ Beef Ribs are hearty enough to be the centerpiece of a complete dinner. Serve them with your favorite BBQ-style side dishes for a generous family meal.
Creamy sides can provide a nice contrast to the smoky, caramelized beef, while fresh vegetables or a crisp salad can add freshness to the plate.
You can also serve the ribs with extra BBQ sauce so everyone can adjust the amount according to their preference.
For a casual gathering, arrange the sliced ribs on a large serving platter and drizzle a little additional glaze over the top. Add the side dishes around the ribs for an inviting family-style presentation.
Make-Ahead Preparation
The seasoning and marinating stage can be prepared ahead of time by coating the ribs and refrigerating them for at least 1 hour as directed.
The BBQ glaze can also be prepared while the ribs are cooking, allowing it to be ready when the slow-cooking stage is complete.
Keeping the preparation organized makes the final glazing and caramelization process quick and easy.
Final Result
These Sticky BBQ Beef Ribs combine slow-cooked tenderness with a beautifully caramelized BBQ coating. The initial seasoning creates a flavorful base, while the long cooking time at 275°F (135°C) allows the ribs to become wonderfully tender.
The homemade glaze brings together BBQ sauce, honey, Worcestershire sauce, and apple cider vinegar for a balanced combination of sweet, savory, smoky, and tangy flavors. Finishing the ribs at 425°F (220°C) and then briefly under the broiler creates the signature sticky, dark, caramelized exterior.
Serve the ribs after a 10–15 minute rest, slice them into portions, and enjoy them warm with extra BBQ sauce.
With their tender texture, glossy BBQ glaze, and rich caramelized finish, these Sticky BBQ Beef Ribs are a satisfying centerpiece for any hearty dinner or weekend BBQ-inspired feast. 🥩🍖