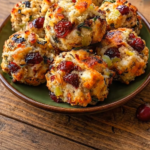

🍞🌿 Cranberry & Herb Stuffing Balls
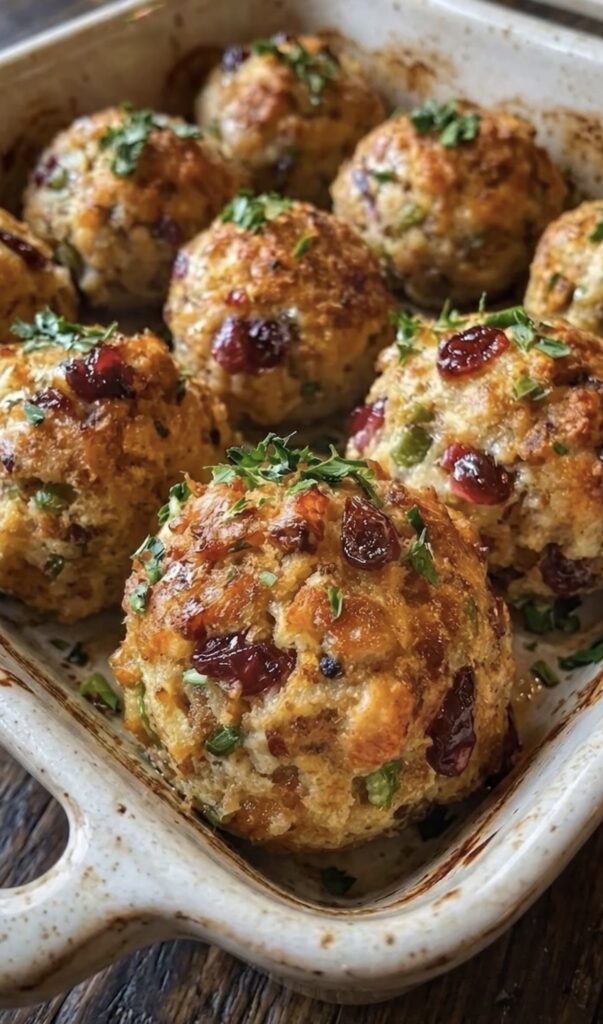
Golden and crisp on the outside, soft in the middle, these stuffing balls combine savory herbs, tender vegetables, and sweet dried cranberries.
⏱️ Prep Time: 15 minutes
🔥 Cook Time: 25–30 minutes
🍽️ Servings: 4–6 (makes 8 stuffing balls)
🥘 Cooking Method: Stovetop and oven
🛒 Ingredients
- 4 cups small, dry bread cubes
- ½ cup dried cranberries
- 1 small onion, finely chopped
- 2 celery stalks, finely chopped
- 3 tbsp butter, divided
- 1 large egg, beaten
- ½–¾ cup vegetable or chicken broth, plus a little extra if needed
- 1 tsp dried sage
- 2 tbsp chopped fresh parsley, plus extra for garnish
- ½ tsp salt
- ¼ tsp black pepper
👩🍳 Instructions
- 🔥 Prepare the oven and dish: Preheat your oven to 375°F (190°C). Lightly grease a baking dish large enough to hold 8 stuffing balls with a little space between them.
- 🍞 Check the bread: Place the dry bread cubes in a large mixing bowl. If your bread is still soft, spread the cubes on a baking sheet and bake for 10–15 minutes at 300°F (150°C), until dry but not deeply browned. Let cool before using.
- 🧅 Cook the vegetables: Melt 2 tablespoons butter in a skillet over medium heat. Add the onion and celery. Cook for 5–7 minutes, stirring occasionally, until softened. If they begin to brown too quickly, reduce the heat.
- 🌿 Add the herbs: Stir the dried sage into the vegetables and cook for about 30 seconds, until fragrant. Remove the skillet from the heat and let the mixture cool slightly.
- 🥣 Combine the stuffing: Add the cooked vegetables, cranberries, parsley, salt, and pepper to the bread cubes. Toss gently to distribute everything evenly.
- 🥚 Add the egg and broth: Stir in the beaten egg, then gradually pour in ½ cup broth, mixing gently. Add the remaining broth a tablespoon at a time as needed. The bread should feel evenly moist and hold together when pressed, without becoming soggy.
- ⏳ Let the mixture rest: Leave it for 5 minutes so the bread absorbs the liquid. Squeeze a small handful together. If it crumbles, add another tablespoon of broth. If it feels too wet, gently mix in a few more dry bread cubes.
- 🙌 Shape the balls: Divide the mixture into 8 equal portions. With lightly dampened hands, firmly press each portion into a ball. Arrange them in the prepared dish, leaving a little room between each one.
- 🧈 Brush with butter: Melt the remaining 1 tablespoon butter and brush it over the tops to help them turn golden and crisp.
- 🔥 Bake: Bake uncovered for 25–30 minutes, until golden outside and hot in the center. The center should reach 165°F (74°C). If the tops brown before the centers are ready, loosely cover with foil and continue baking.
- 🍽️ Rest and serve: Let the stuffing balls rest in the dish for 5 minutes so they firm up. Garnish with fresh parsley and serve warm alongside roast chicken, turkey, roasted vegetables, or gravy.
💡 Helpful Cooking Tips
- Chop the vegetables finely: Large pieces make the balls harder to shape and can cause them to fall apart.
- Add broth slowly: Different breads absorb different amounts of liquid, so use the texture as your guide.
- Press firmly when shaping: The mixture needs to be compact enough to hold together during baking.
- Adjust the salt: If using salted butter or salty broth, reduce the added salt.
- For a vegetarian version: Use vegetable broth.
❓ Questions & Answers
Can I use fresh bread?
Yes, but dry the cubes in the oven first. Soft bread can make the stuffing heavy and mushy.
Why are my stuffing balls falling apart?
The mixture may be too dry or loosely packed. Add a little broth, let it absorb, then press the balls firmly together.
Can I prepare them ahead?
Yes. Shape them, cover, and refrigerate for up to 24 hours. Brush with melted butter before baking and allow a little extra baking time if cooking straight from the refrigerator.